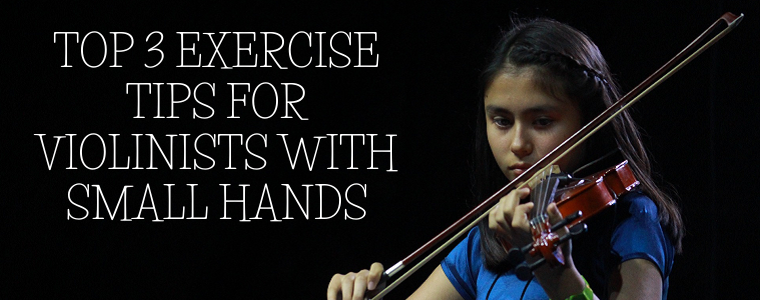
Top 3 EXERCISE Tips for Violinists with Small Hands

If you have small hands or a short pinkie (fourth finger), some of the beginning violin finger exercises are more challenging, and that's a clear road to frustration. Fortunately, there are exercises violinists can do to position, strengthen, and extend smaller hand/finger lengths.
Are You Playing a Correctly-Sized Violin?
Before we share three exercises to support your fingering techniques, let's talk about instrument size. Theoretically, everyone's fingers and hands should feel more or less "just right" on their violin because you should already have had it fitted to accommodate your arm length and hand size. (Playing a hand-me-down violin isn't always the best choice unless you've verified it is the right size for your body.)
Read our post How to Pick the Right Size Violin. The staff at a local string instrument store or your violin teacher can tell you whether or not you (or your student) have a correctly-sized instrument. They can also tell you whether a 1/4, 1/2, 3/4, 7/8 or full-size violin would be a better fit.
Exercise 1: Practice a variation on how you hold your violin
Bad habits are hard to break, so the sooner you develop good ones (including playing posture), the better a violinist you'll be. Our video on How to Properly Hold Your Violin is an excellent place to start. However, smaller hands or shorter fourth fingers may require a slight variation.
Hold your violin and look at where you put your left thumb. Does it stick up to or above the top edge of the neck and strings? While players with larger hands or longer fingers may hold it that way, those of you with shorter fingers should readjust.
- Pull your thumb down a bit, so it's resting closer to the underneath side of the neck.
- Make sure there is a decent gap (U-shape) between the U of your thumb and forefinger. That allows for greater reach and extension when you're moving fingers 2, 3, and 4 around to the strings.
- Angle (don't bend dramatically) your wrist more towards the neck than is typically instructed. The wrist and forearm should still have a slightly arced straight line.
In this position, your first finger won't meet the strings on its tip, as it would for people with larger hands. Instead, the first finger will play more along its side, allowing better extension and positioning for your fourth finger.
If you've become used to playing your violin the way people with larger hands position their fingers, it will take practice to get comfortable with the switch away from the "wrist-down, fingertips on the strings" muscle memory you now have. As a result, relearning better, small-hand positioning will become a way to reboot that muscle memory to make it easier for you to play.
Exercise 2: General finger dexterity
Sometimes it's not about "special" exercises, but more that some people have to work harder at standard exercises to overcome inherent challenges. Just as a track star with shorter legs might have to practice harder to arc over the high hurdles, those with smaller hands or pinkies need to diligently practice exercises for finger dexterity to extend their reach as much as possible.
Our post, 10 Tips for Better Finger Dexterity, has a range of options to use with your violin or on tabletops or a mock-fingerboard when you're in other locations. We recommend prioritizing the exercise for performing your scales and arpeggios at an exaggerated, slower tempo. Whether you've got smaller hands, or struggle with dexterity in general, this is an excellent exercise to do regularly. While not always fun, these building blocks of string musicianship are essential. After all, scales and arpeggios are the foundations of accurate muscle memory freeing you to focus on playing with feeling.
Exercise 3: Fourth finger exercises
The fourth finger is the real challenge when it comes to proper reach on the violin strings, and this is true for those with average hands as well. If your hands are smaller, you'll want to focus on fourth finger exercises during your warm-ups to keep that pinky strong, limber, and coordinated.
Here are two videos you'll find useful. Our YouTube video is a sound tutorial on pinky exercises for your bow hand. While this video offers pinky exercises for your violin hand and playing techniques. We also recommend using the Pencil Reach (Exercise #8 in our 10 Tips… post linked above), which you can do while you're in class or streaming your favorite TV shows.
The Pencil Reach uses a pencil or regular pen. Grip it in your left hand (you can use this exercise on your right hand, too) using your fingertips only. Gradually 'walk' your pinky finger away from the others as far as you can and then slowly 'walk' it back.
Take it easy!
As always, remember that too much practice can be more harmful than too little. Practice for a moderate amount each day to prevent overuse injuries. The combination of a correctly-sized instrument, and focusing on these three finger exercises for violinists with small hands, will even your playing field.

